Use the web interface tomanage the warehouse inventory.
The web interface can be accessed by scanning the QR code, or by navigating to the IP address and port utilized by the Warehouse Standalone Server (e.g., http://192.168.0.100:4300).
Upon opening the web interface, users can add new warehouse elements, such as rooms, racks, shelves, boxes, and items.
A REST API is also available for developing custom applications.
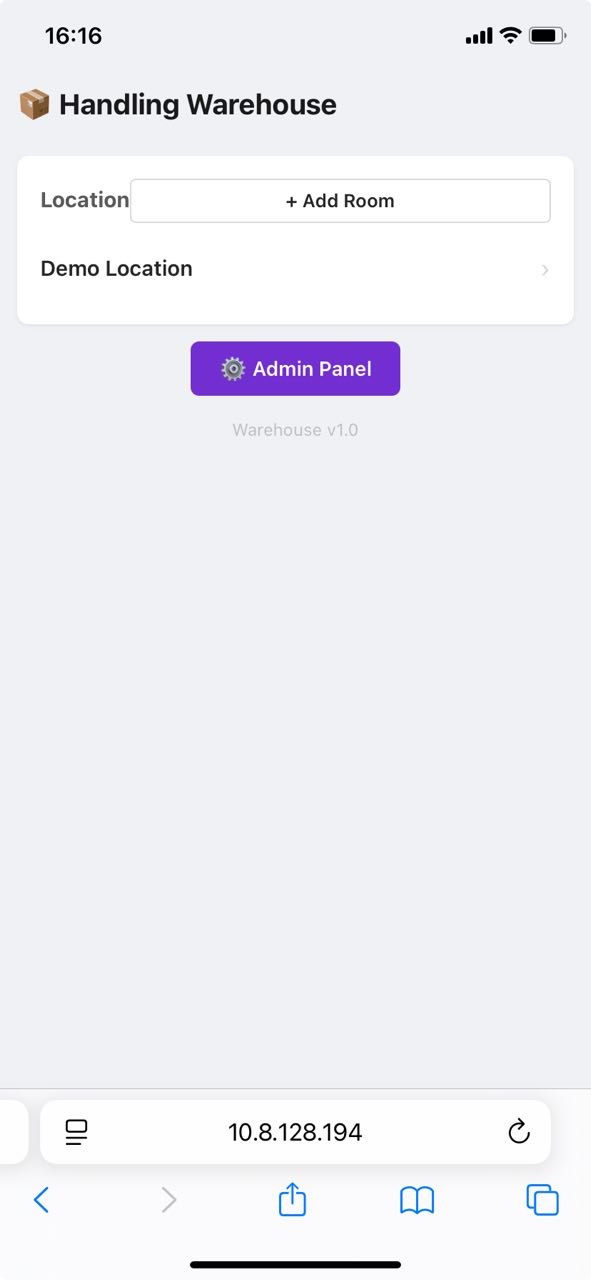
Locations (rooms)
At this stage, users can add a new location (room) or select an existing one to manage.
Adding a new Location (room)
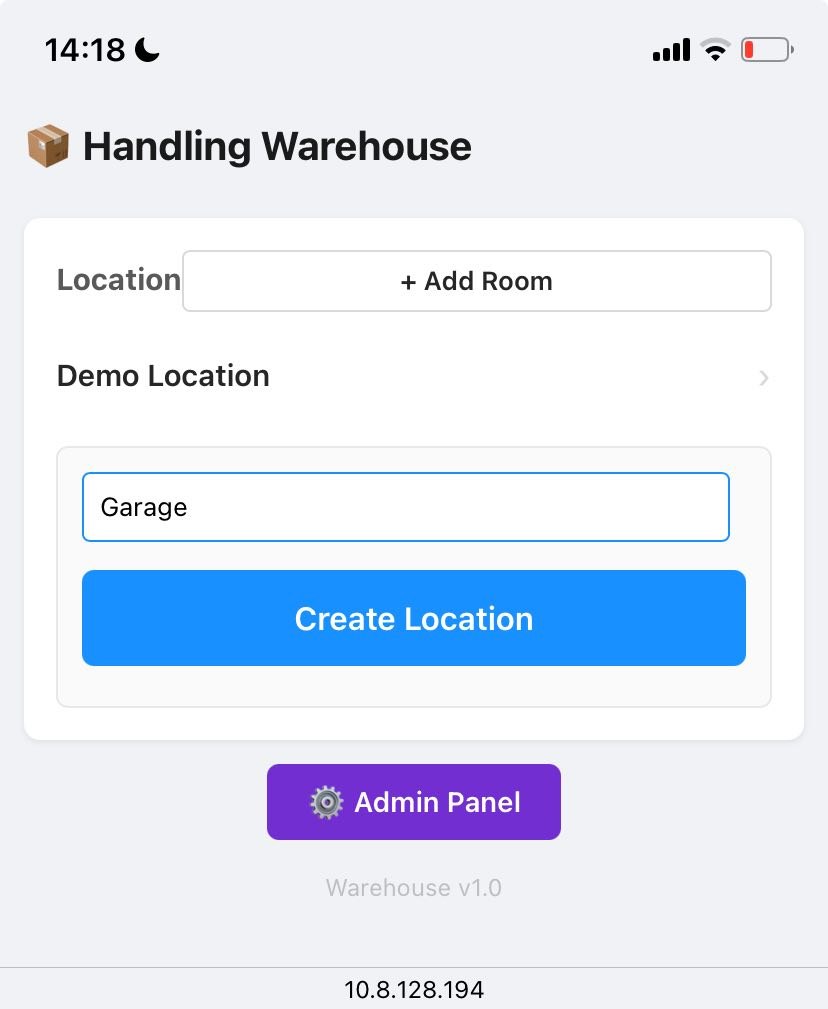
To add a new location, click the + Add room button to open the dialog window.
Enter the Location Name and click the Create Location button. The location will be created immediately.
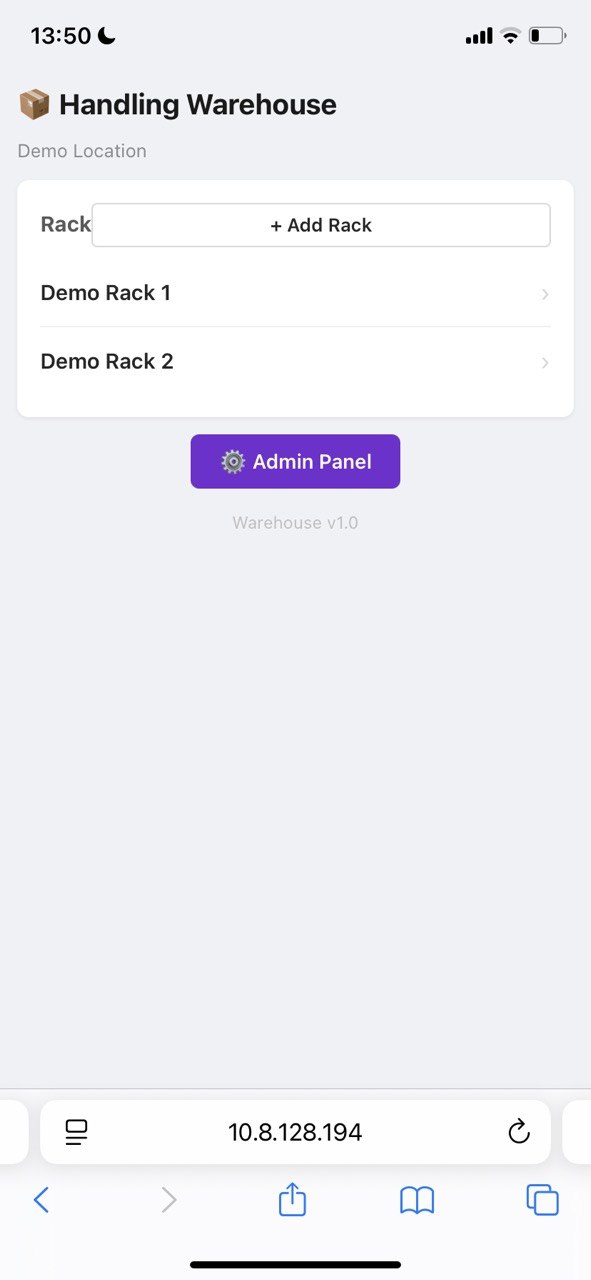
Racks
Once a location is selected, a list of racks opens, allowing users to add a new rack or choose an existing one.
Adding a new rack
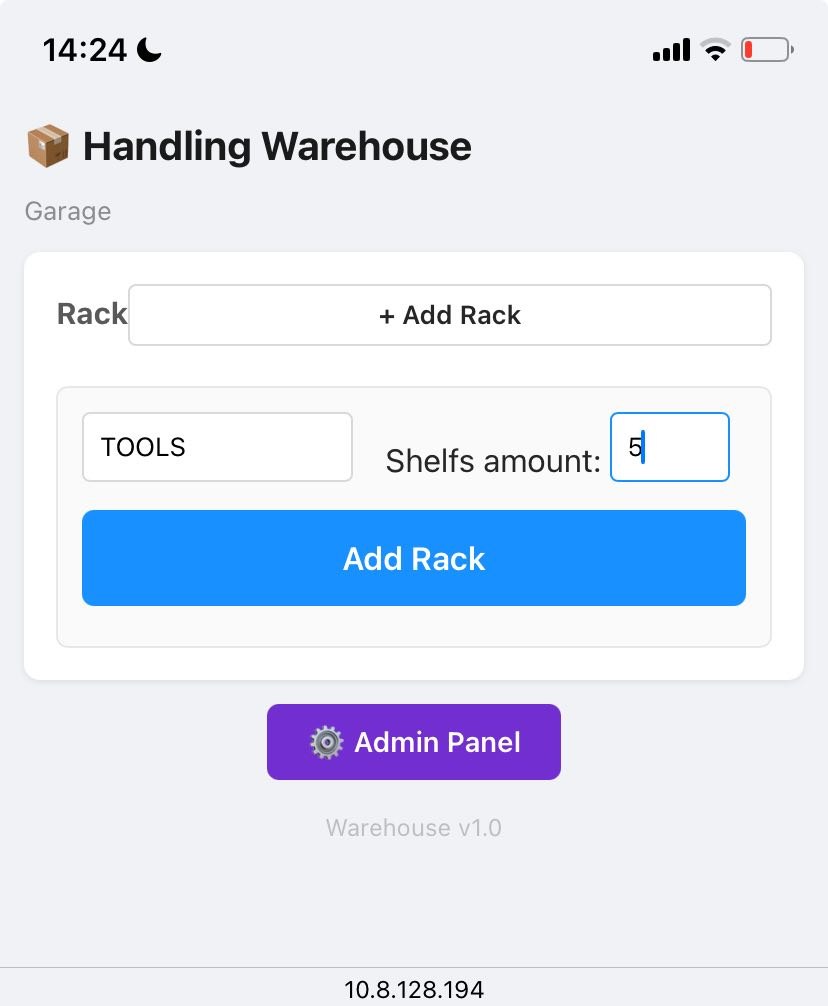
To add a new rack, click the +Add Rack button to open the dialog window.
Enter the Rack Name, specify the number of shelves, and click the Add Rack button. The rack will be created immediately.
Shelfs
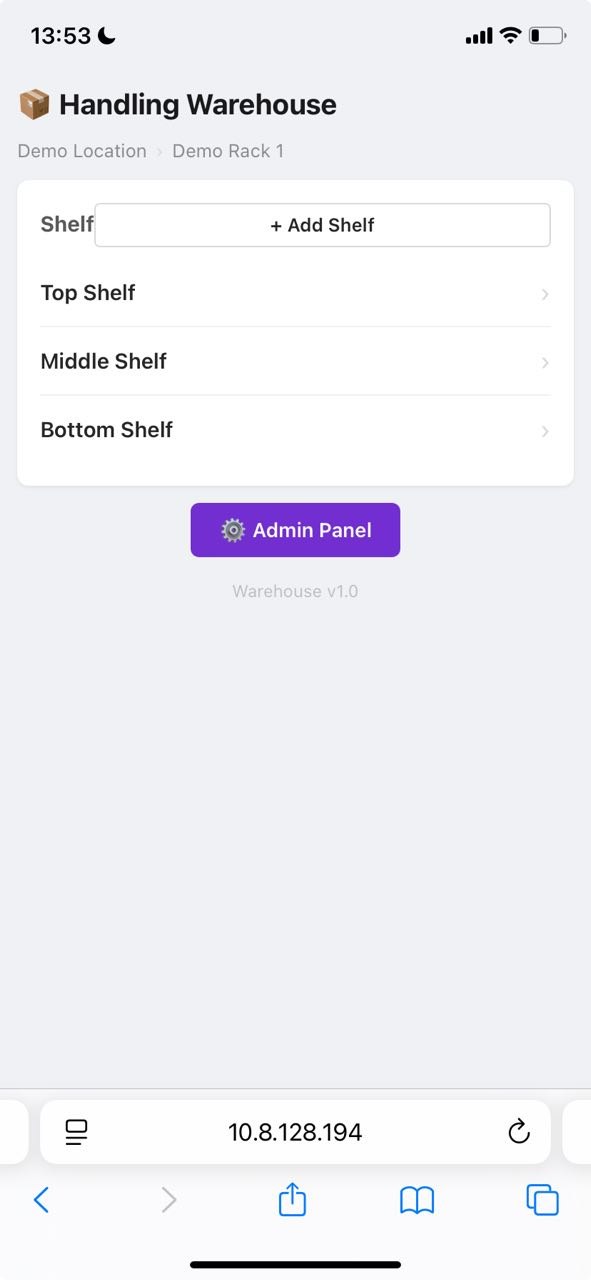
Once a rack is selected, a list of shelves opens, allowing users to add a new shelf or choose an existing one.
Adding a new Shelf
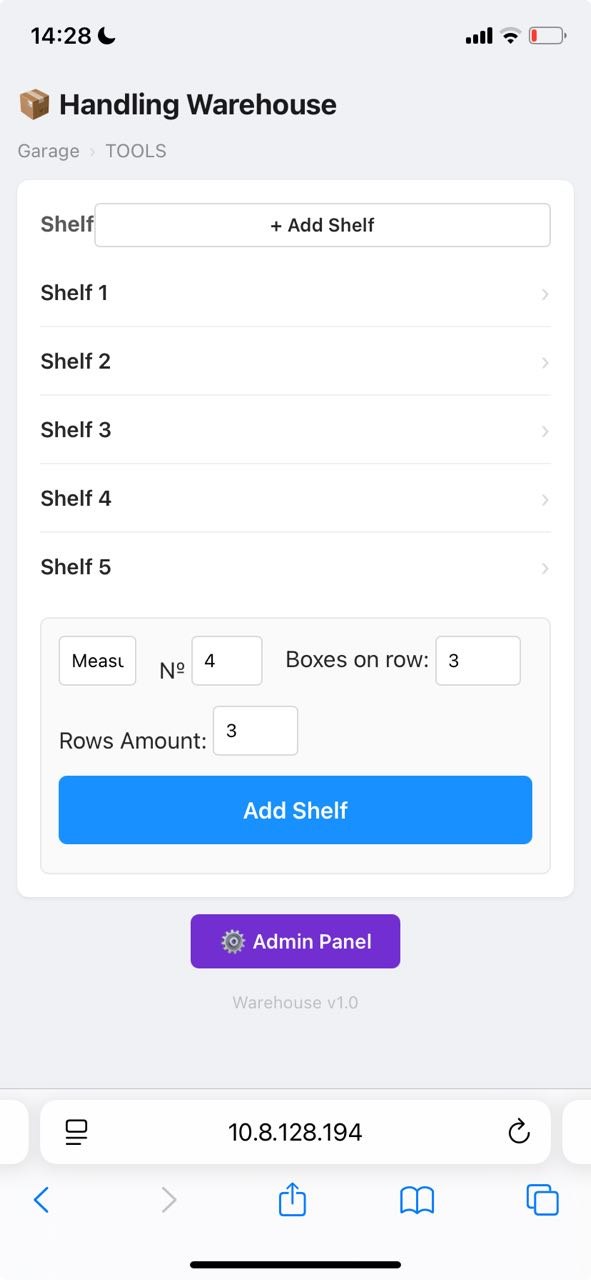
To add a new shelf, click the +Add Shelf button to open the dialog form below the list.
Fill out the form: specify the Shelf Name, Shelf Position in Stack, Number of Boxes per Row, and Number of Rows, then click the Add Shelf button below.
Note on "Shelf Position": if a rack already has 3 shelves and a user adds a new shelf with position number 1, the new shelf will be inserted directly under the 1st existing shelf.
Boxes
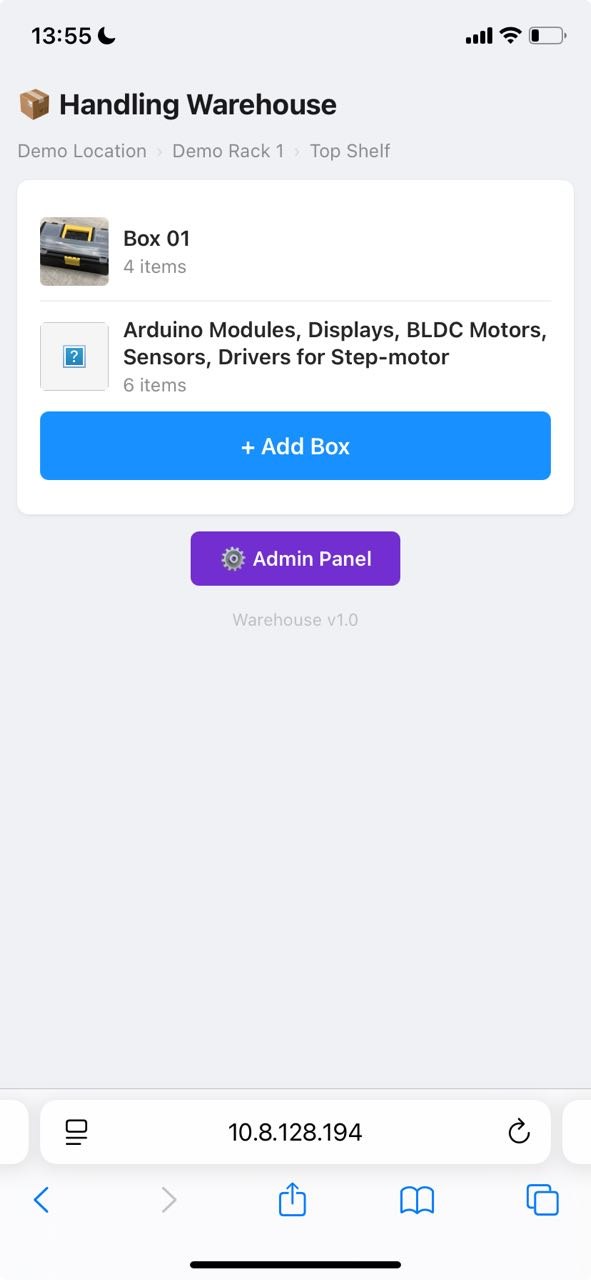
Once a shelf is selected, a list of boxes on that shelf opens. Users can add or remove boxes, or select an existing box to manage its items.
Adding a new box
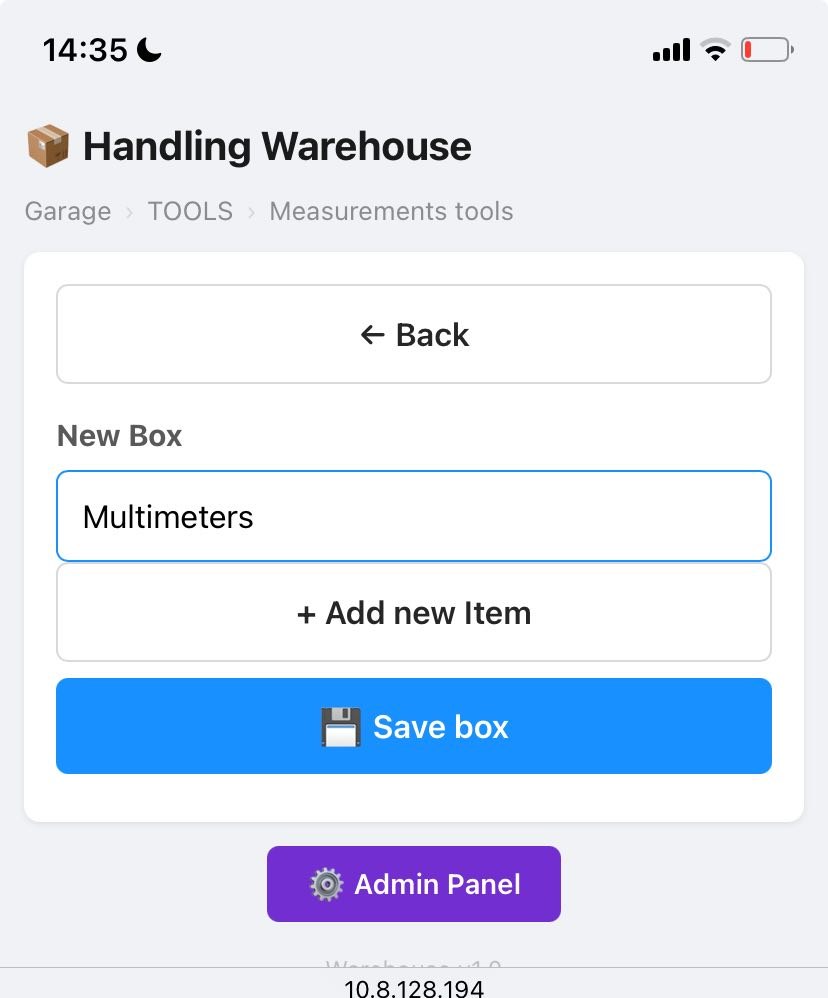
To add a new box, click the +Add Box button to open the dialog window.
Enter the Box Name and click the Save Box button. Users can also add a new item to the empty box directly during its creation.
Items
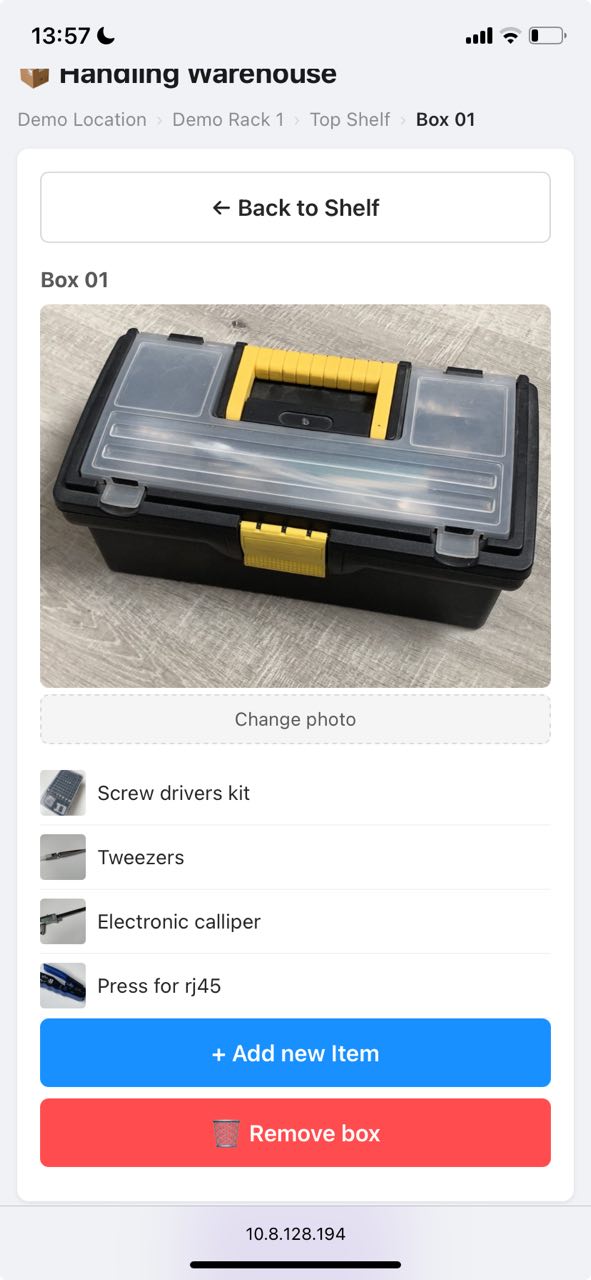
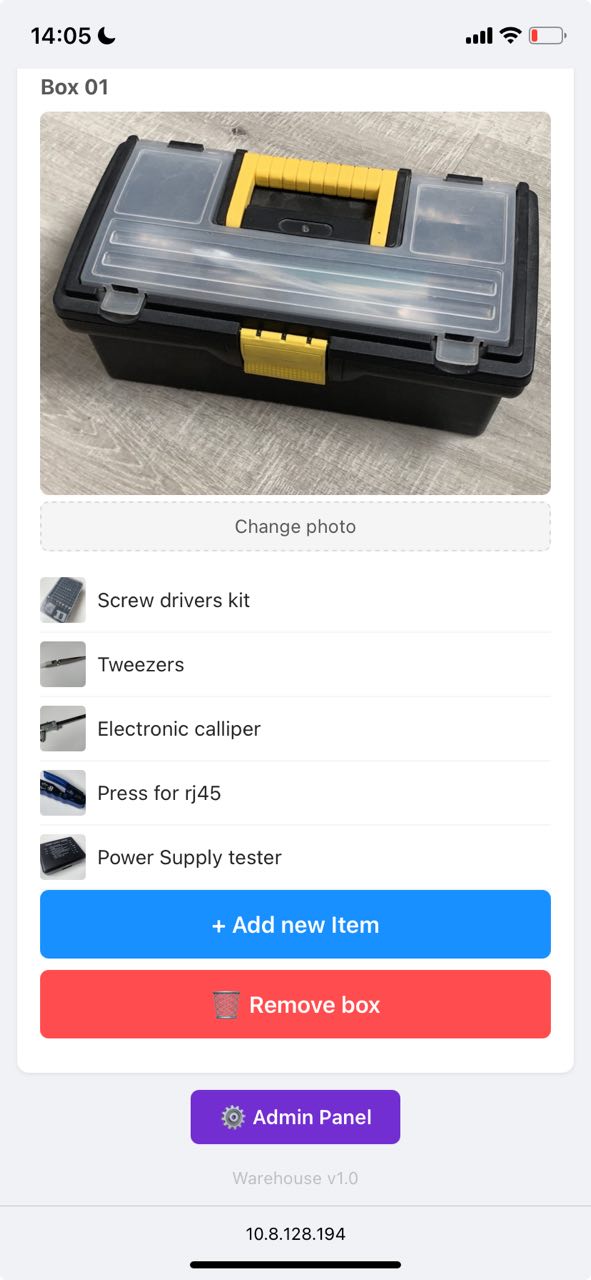
Once a box is selected, a list of its items opens. Users can add a new item with a name, quantity, and photo to the chosen box. Users can also change the box photo or upload a new one if it does not exist.
Adding new item
The process of adding a new item to a box is straightforward.
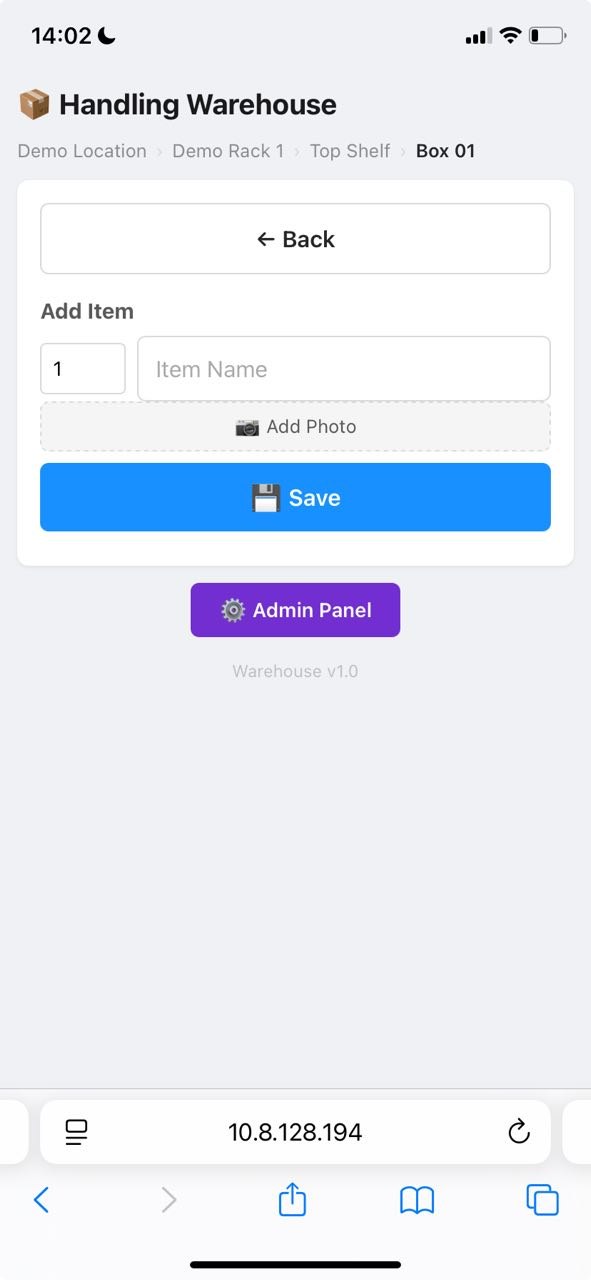
Click the + Add new Item button to open the next dialog window.
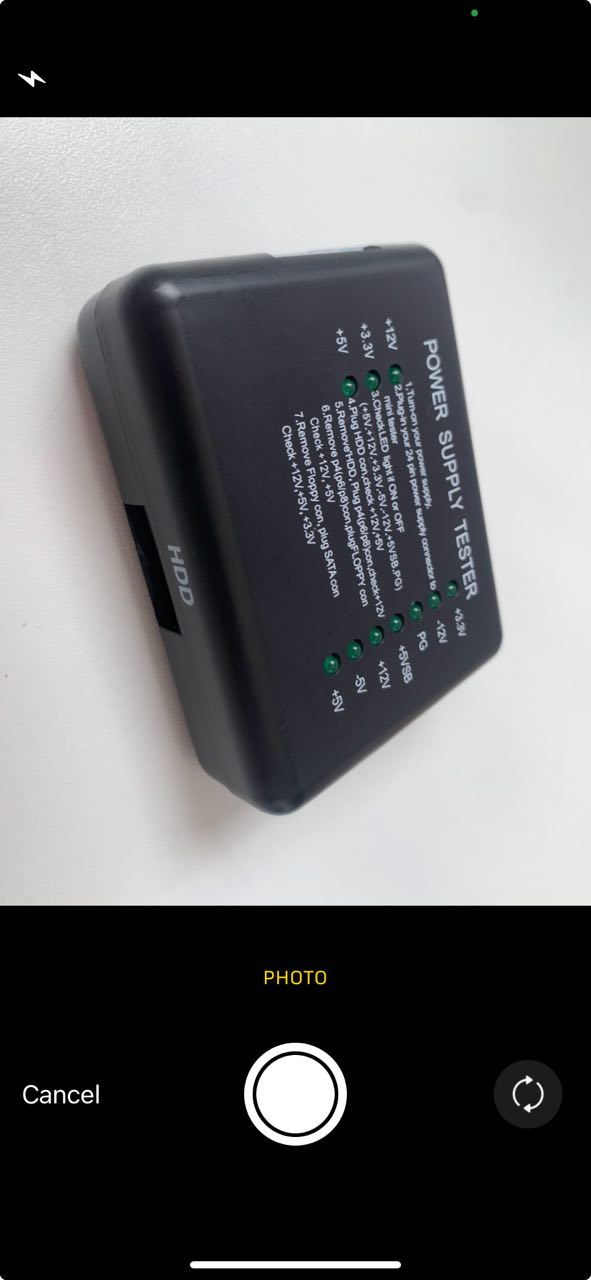
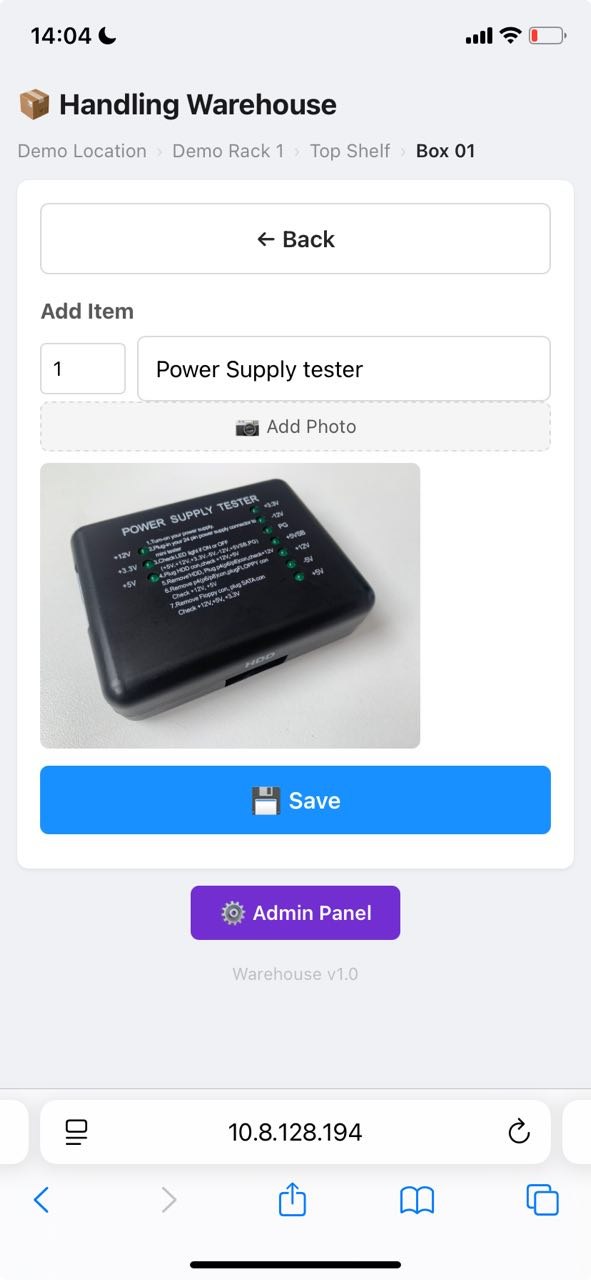
Specify the quantity and item name, then press the `Add Photo` button to capture an image using the device camera.
After taking the photo, click the `Save` button to store the item in the database. The subsequent screen confirms that the item was successfully added.