Warehouse Desktop
The Warehouse Desktop Application is available for different OS platforms:
- Debian-based OS (amd64, arm64)
.deb - macOS
.dmg - Windows
.exeInstaller

Detailed description of how to work with the Warehouse Desktop application
Tab "Warehouse"
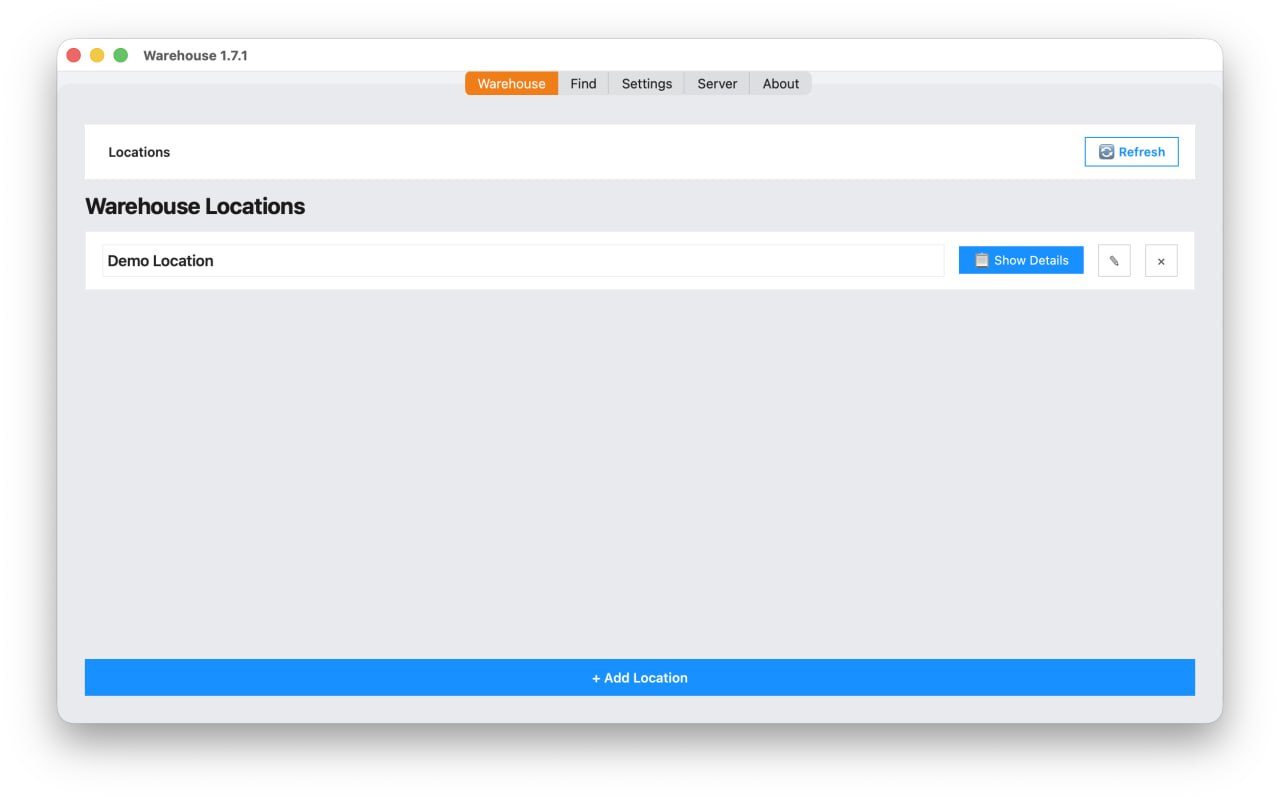
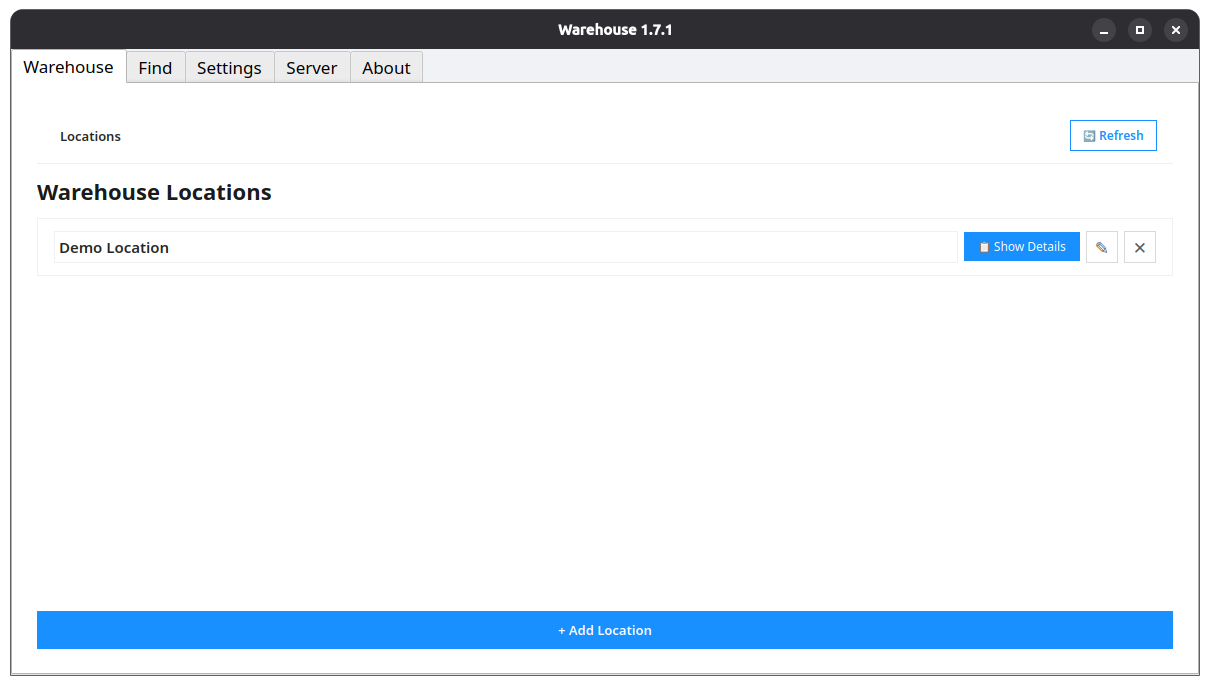
The application starts on Warehouse tab, whitch displays locations (rooms). On this tab, users can add new location, edit a location name or remove a location via a confirmation modal.
The Refresh button allows user to get updated data from the database. This is a convenient d=feature for teamwork.
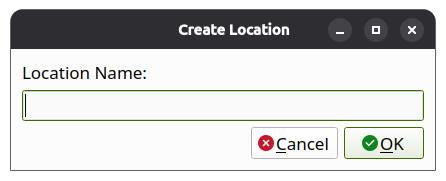
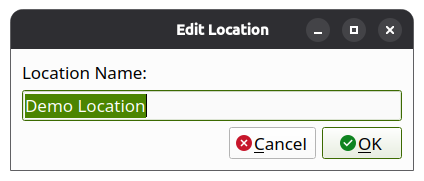
The "Add Location" button opens a small modal to type the name of a new location.
The button with the pencil icon allows changing the name of an existing location.
The "Show Details" button redirects to the next level to show racks in the room.
Location (room) details
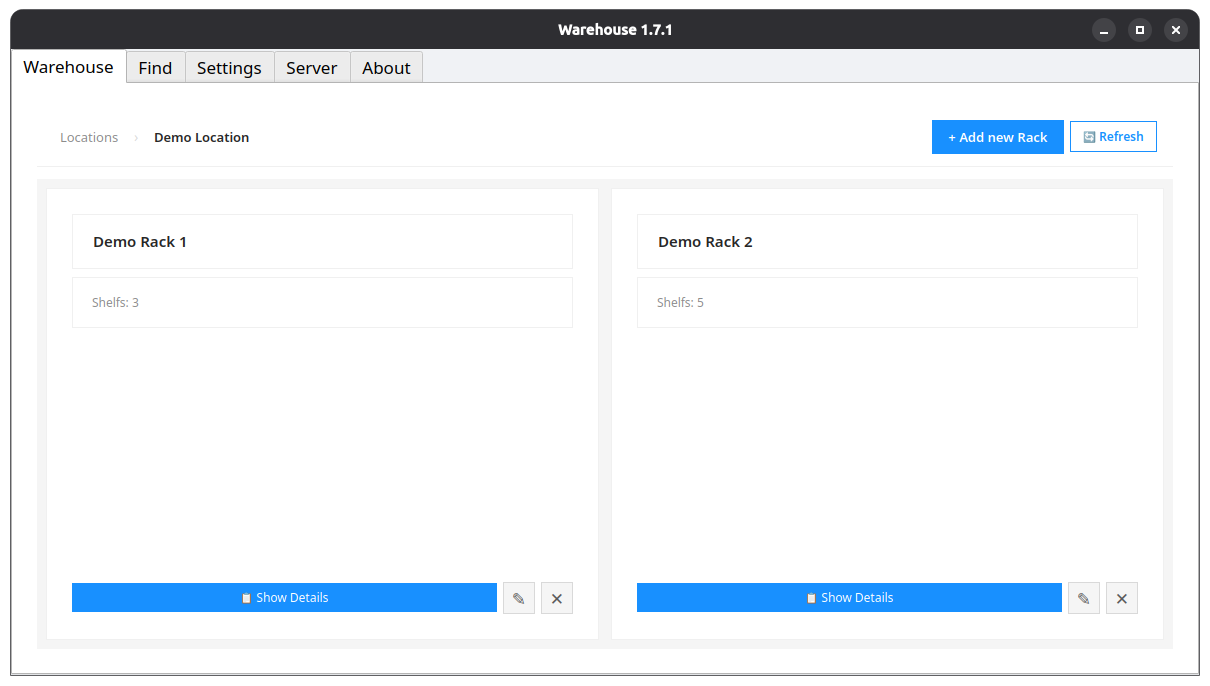
At this level, the application displays room capacity. In the demo screenshot, there are two racks, with brief details about the bumber of shelves. User can add a new rack, edit existing one, or remove it throught a confirmation modal. The Refresh button works the same way as on the previous level.
The "Show Details" button redirects to the next level to show shelves in the rack
Rack details
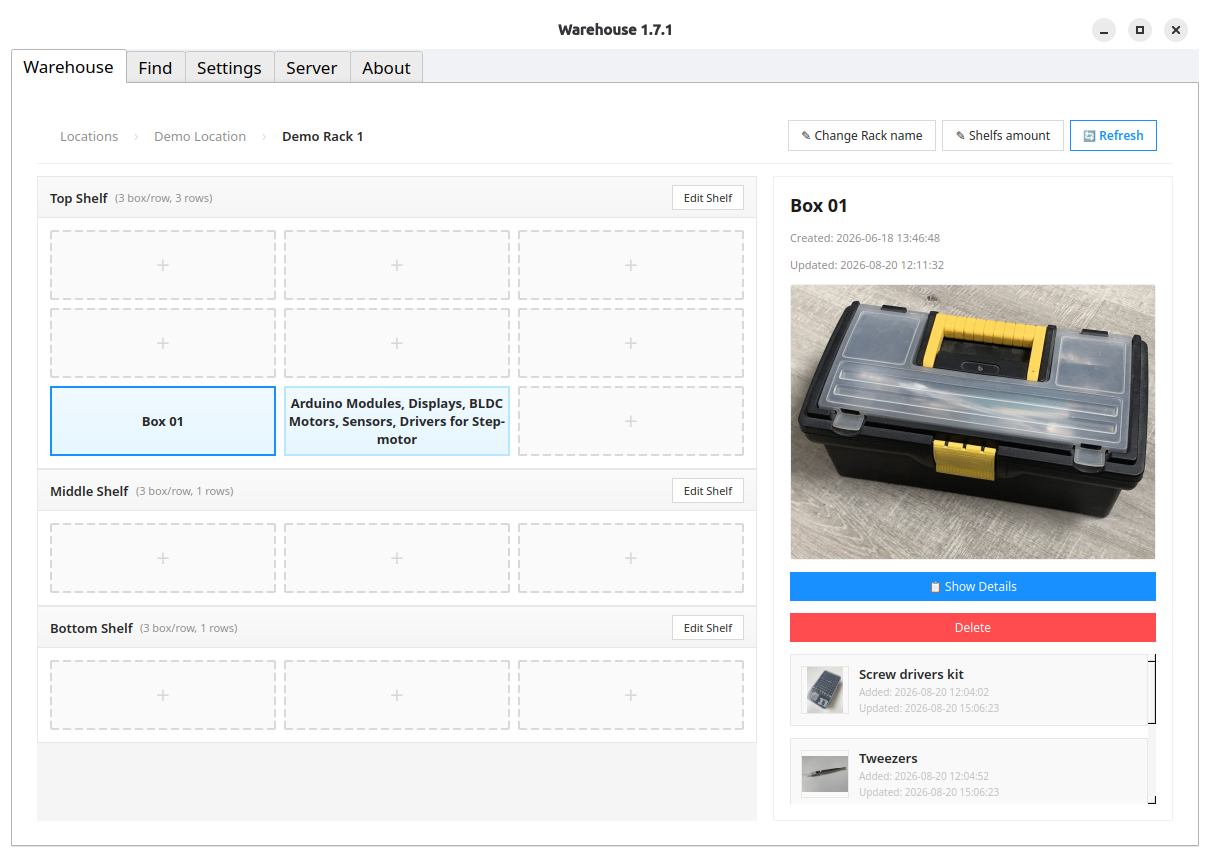
At this step, user can define place the box position on the shelf. To move a box, use the drag-and-drop method.
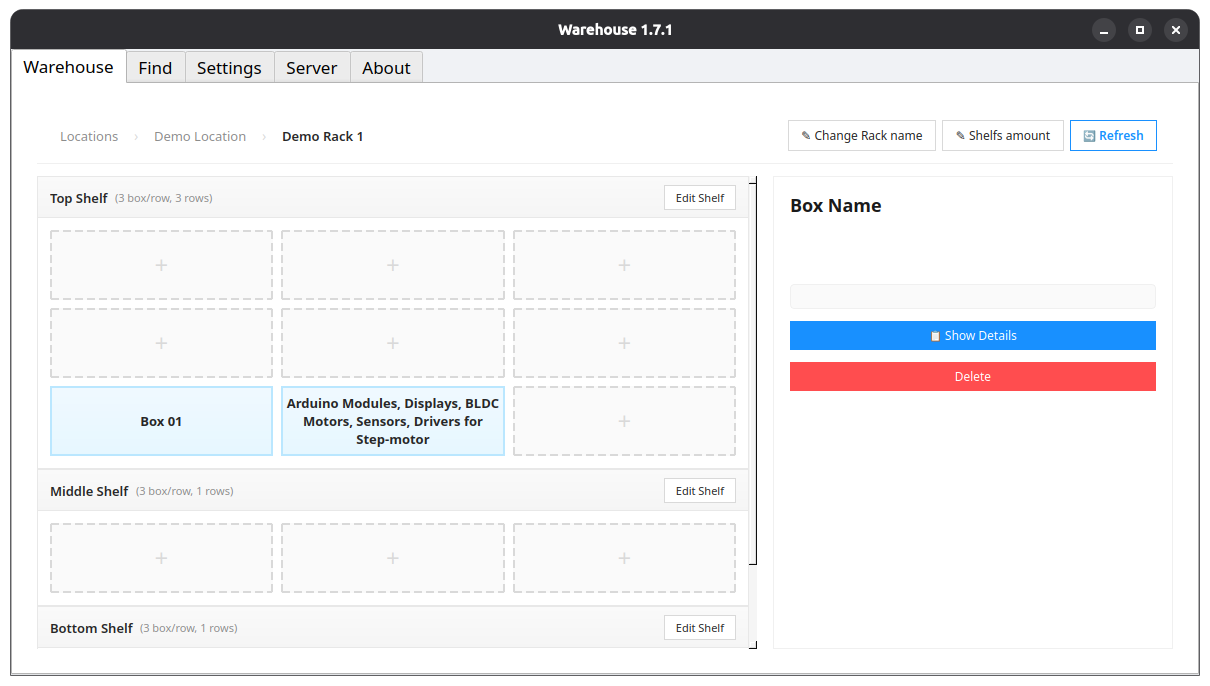
This view displays the main operations with boxes on the shelf. At this step, user can change the rack configuration:
- Change the Rack name
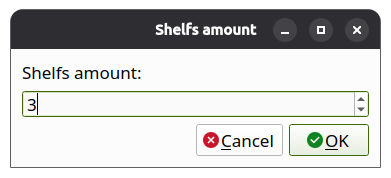
- Set the number of shelves in the rack
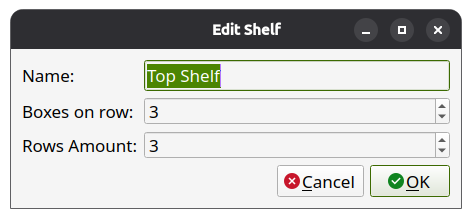
- Set the name of shelf
- Set shelf capacity (the number of boxes in a row and the number of rows)
View Box details
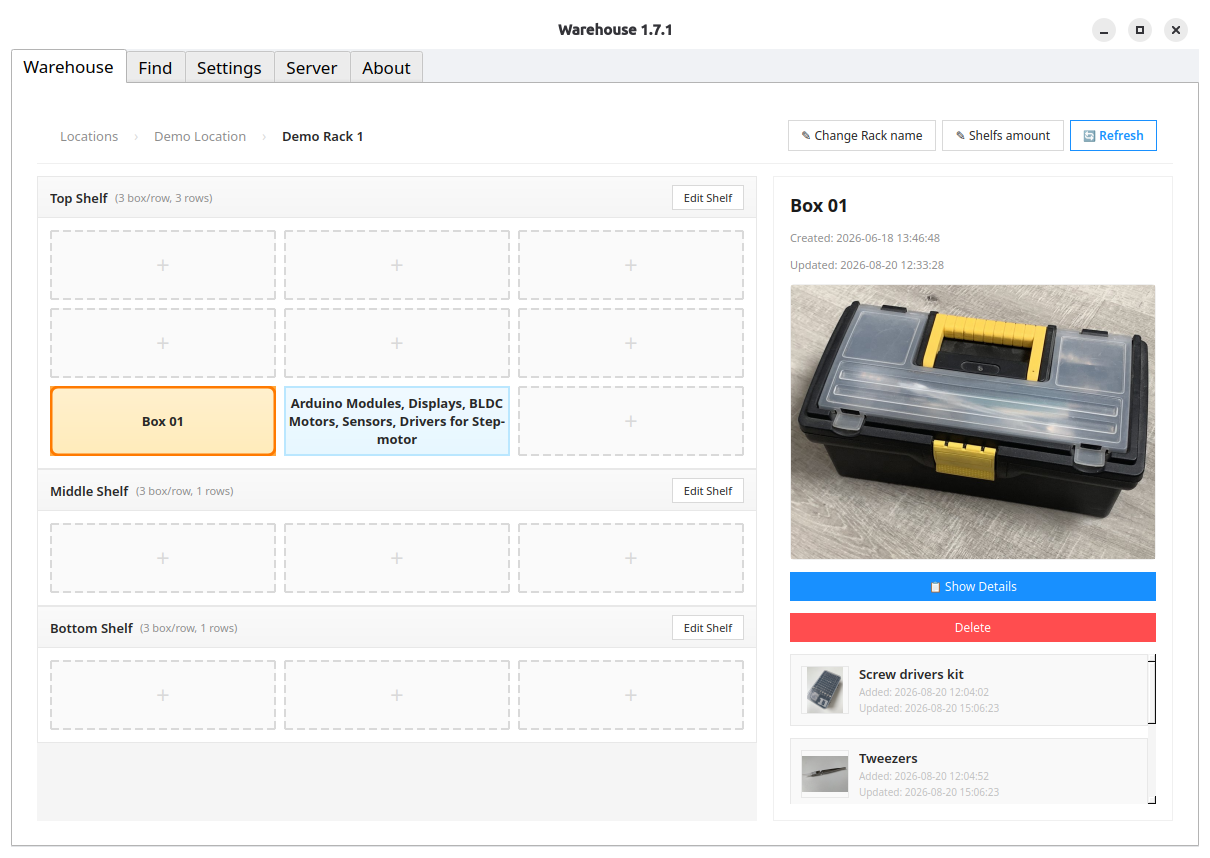
To view box details, click on a box on the shelf. The right side of the window will display a photo of the box (if it was upload earlier), button controls, and a list of items with photos (if uploaded earlier).
View Box items as list and grid
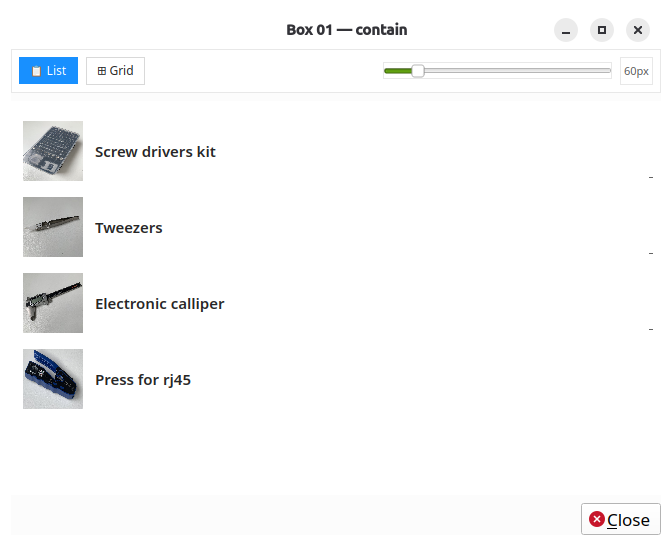
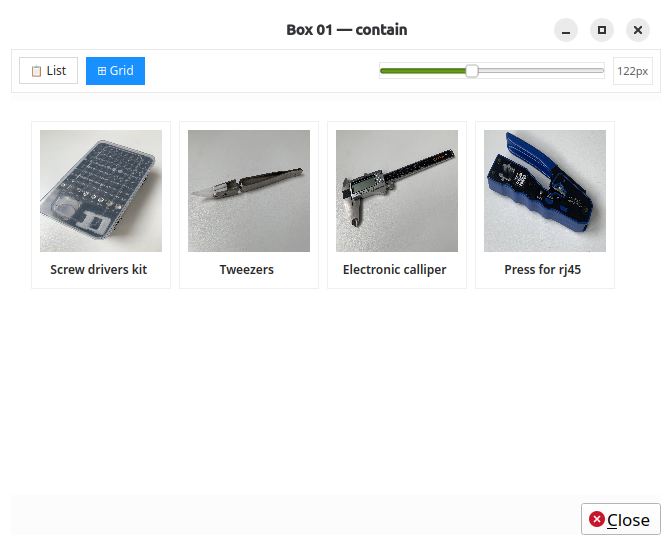
Modal view for items in the box. In this modal, user can change the image size and display type (list / grid).
Box operations - Add new box
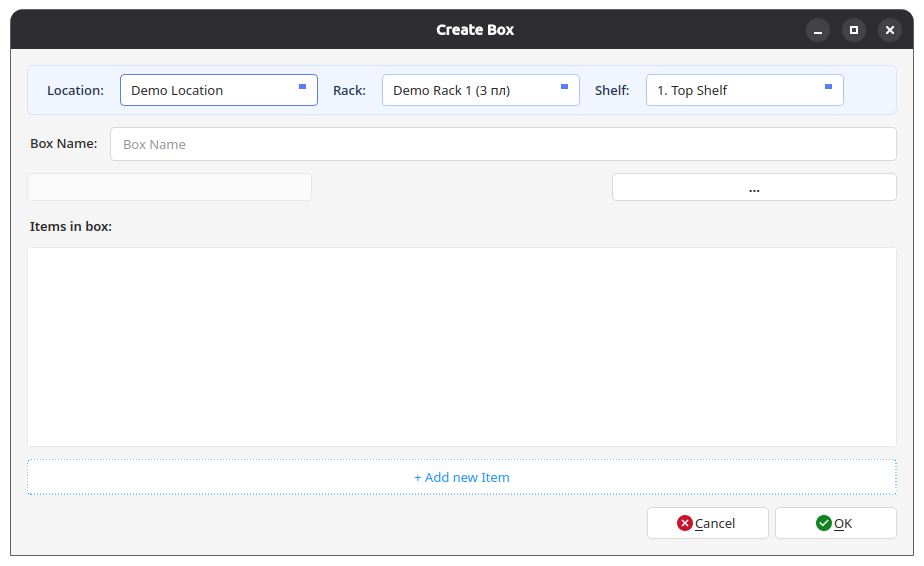
At this step, the application allows adding a new container with items (a box). To add a new box, double-click on an empty space [+]. This opens a new modal to add details and contents of the box.
Box operations - Edit box
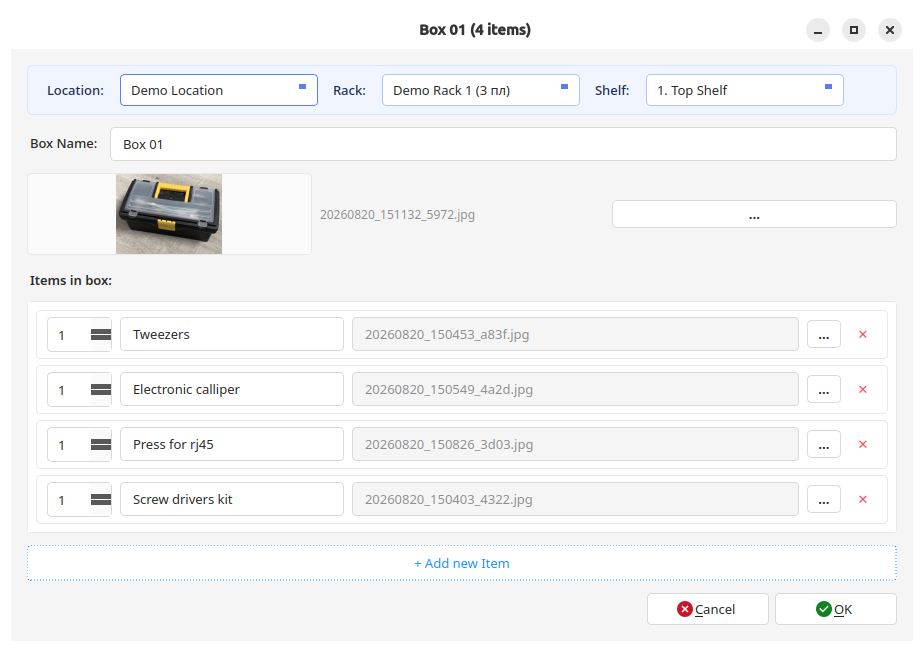
This modal opens by double-clicking on a box on the shelf. In this modal, user can move the box to another location, rack or shelf. User can also change the box name and photo, view items, change their names or quantities, change item photos or remove them. User can add a new item with its quantity, name and photo.
Tab "Find"
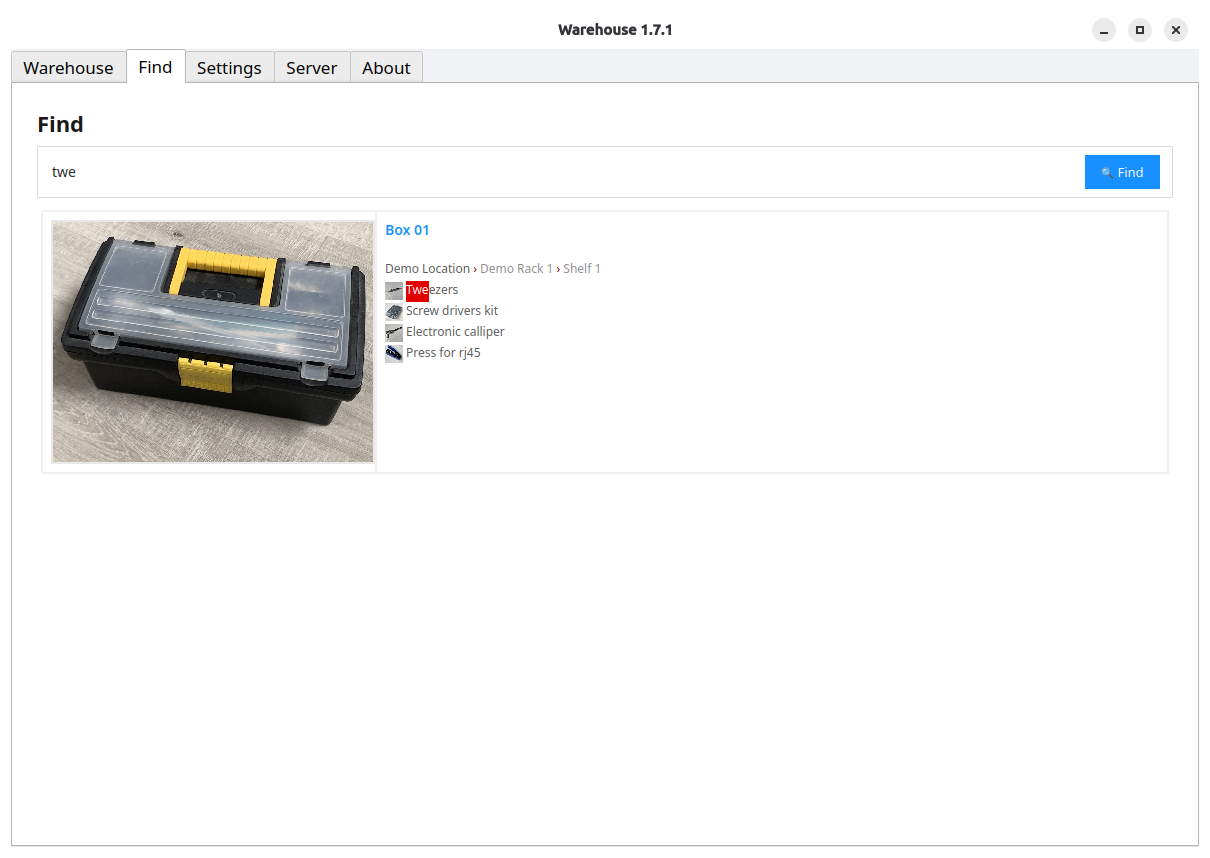
On the Find tab, user can search for items and boxes by name. The search also works wiith partial names, as show in the screenshot.
Tab "Find" - Navigation
By clicking on a box name, the user is navigated to the first tab, which opens the box details and highlights the selected box. The user can also return to the Find tab to view previous search results and navigate to another box in the list.
Tab "Settings"
On this tab, user can change the application configuration.
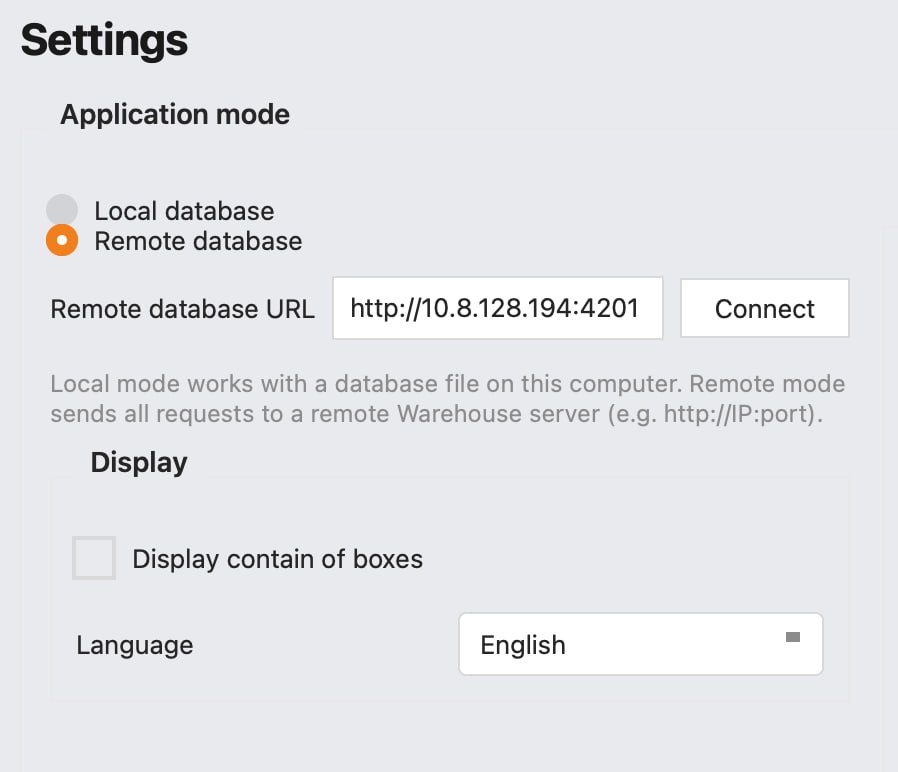
User can set the database to remote (using Warehouse Standalone Server or another copy of the Warehouse Desktop Application) or local.
The local database is kept in `USER_DIR/warehouse/warehouse.db` by default, which is an SQLite database file.
Users can create a new database or specify another database file directly from this tab.
All photos kept in `USER_DIR/warehouse/photos/` by default.
Users can also change the photos directory on this tab.
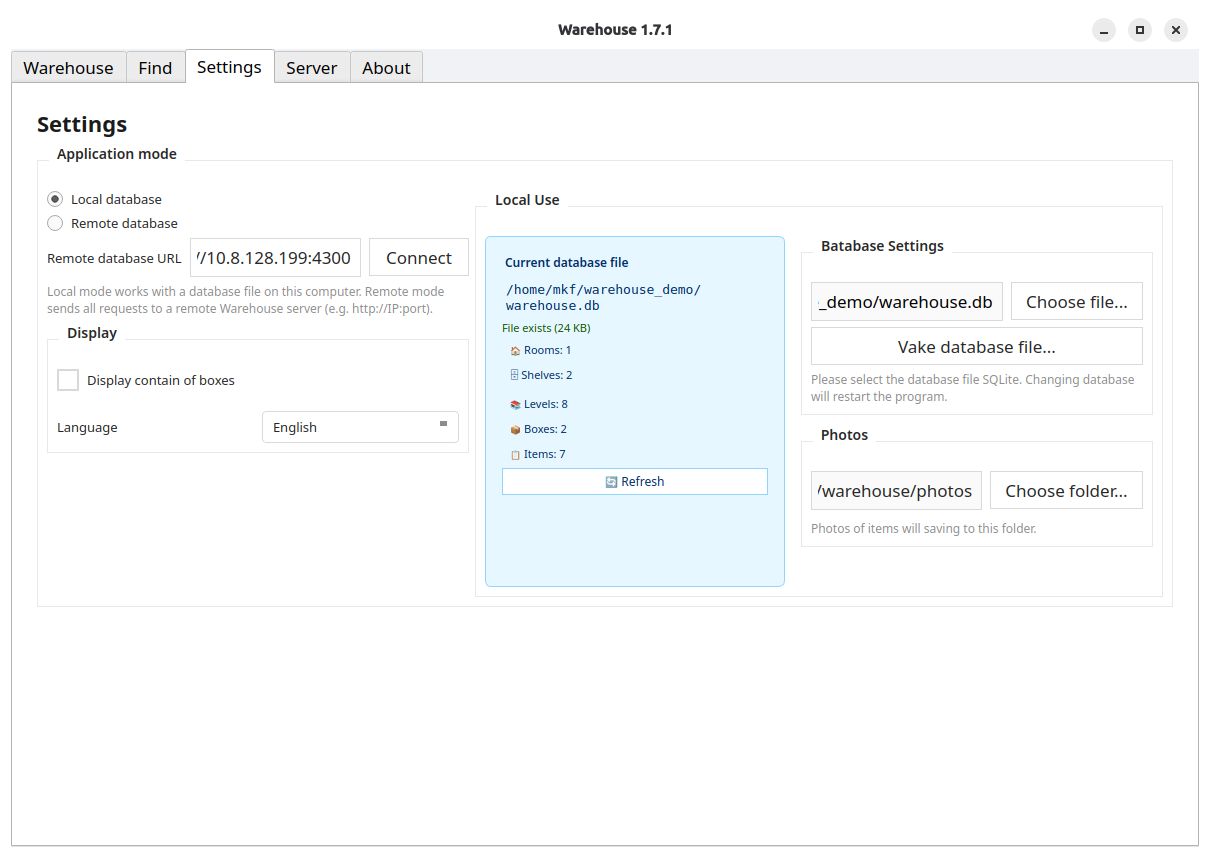
Switch to a remote database
To use a remote database, user can use Warehouse Standalone Server or another copy of the Warehouse Desktop Application running in server mode.Display Settings
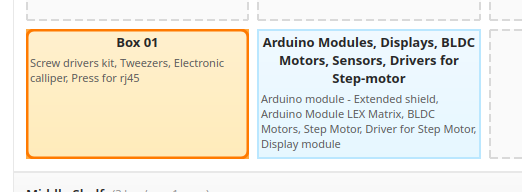
Enable Display contain of boxes to show item names directly on the box.Supported Languages:
- German
- English (by Default)
- Spanish
- French
- Italian
- Polish
- Ukrainian
Tab "Server"
On this tab, users can activate the built-in web server for warehouse inventory management.
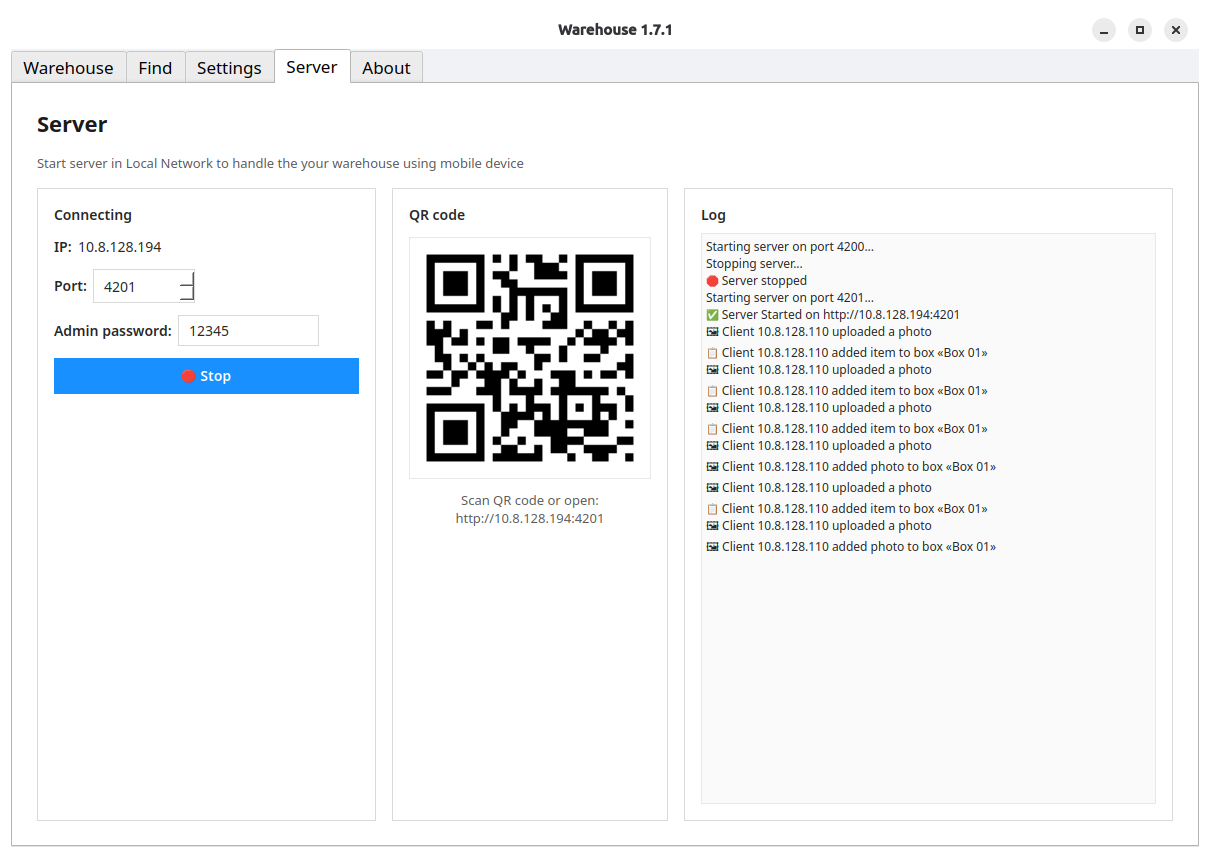
The user's PC and mobile device must be connected to the same local network for this feature to work correctly.
The user need to choose the port number (Default is 4200) and set an Admin password (default: 12345) to activate the server.
Once the server is activated, the application displays a QR code and a link to open the web interface for inventory tracking.
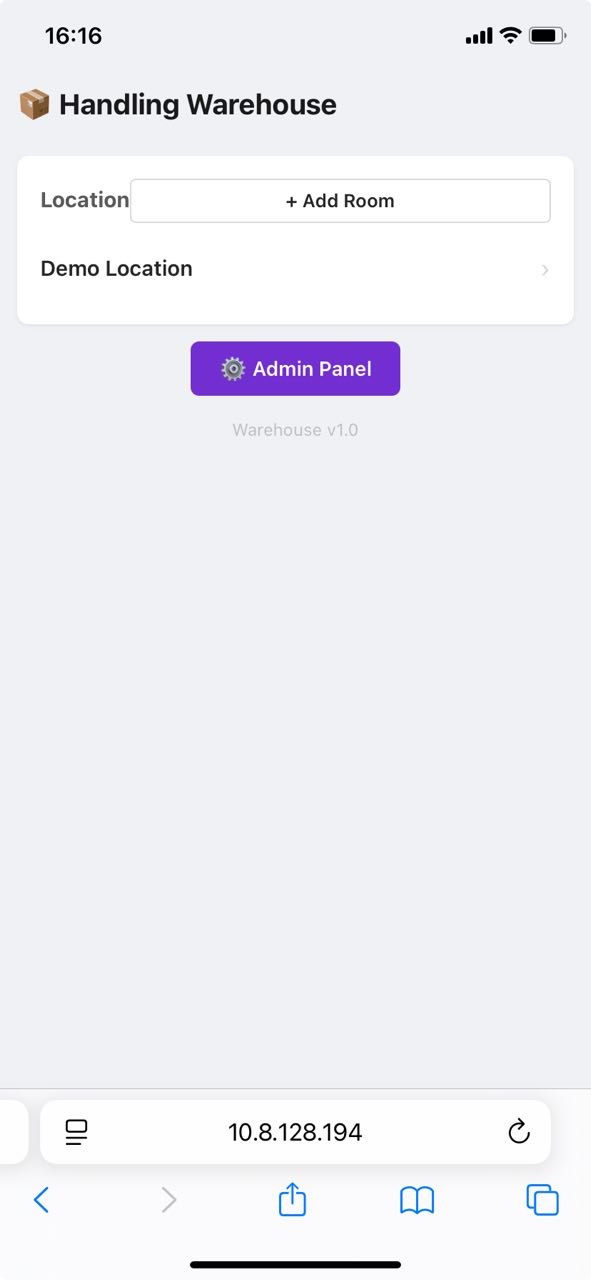
After scanning the QR code, the web interface opens on mobile device for taking inventory, where users can add a new location (room), a new rack, boxes and items. When adding a box, the application allows taking a photo using the device camera.
Read details about the Inventory web app
Read details about the Admin Panel web app
Use Desktop App as a Server
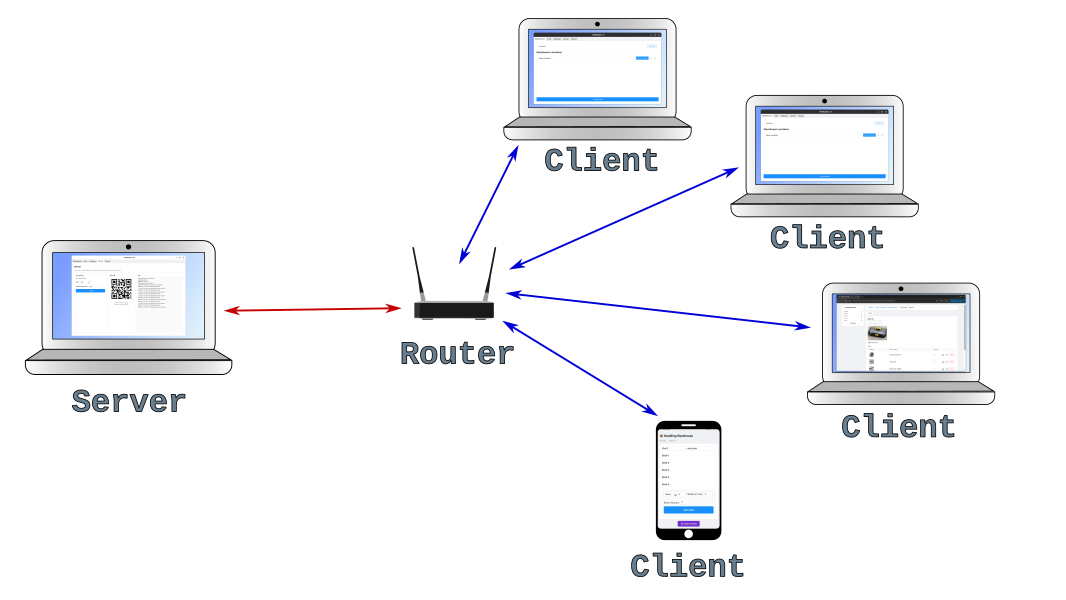
The application can be used as a server within a network if running the Warehouse Standalone Server is not possible.
In this case, one copy of the application (starting from v1.7) acts as a Master, and other application connect to it using its IP address and port.
Setup Desktop Application as a server
Steps to set up the Desktop Application as a server:
- Run the Desktop application on the first PC (this will be the Master app).
- Set up the local database and photos folder for proper operation. (View Settings Tab)
- Specify the port and start the server. (View Server Tab)
- Note the IP address and port number displayed under the QR code.
Connect Slave Desktop Apps to the Master Desktop App
Steps to set up the Desktop Application as a Slave:
- Run the Warehouse Desktop application on other PCs and go to the settings tab.
- Switch to Remote databese.
- Enter the IP address and port (e.g., http://192.168.1.100:4200).
- Click the Connect button (the application will reload).
- After reloading, the application will use the Master application as its server.