Admin Panel web-app
Through the web interface of Warehouse Inventory Management, users can access the Admin Panel to modify existing data. The Admin Panel is designed exclusively for desktop use.
Location Management
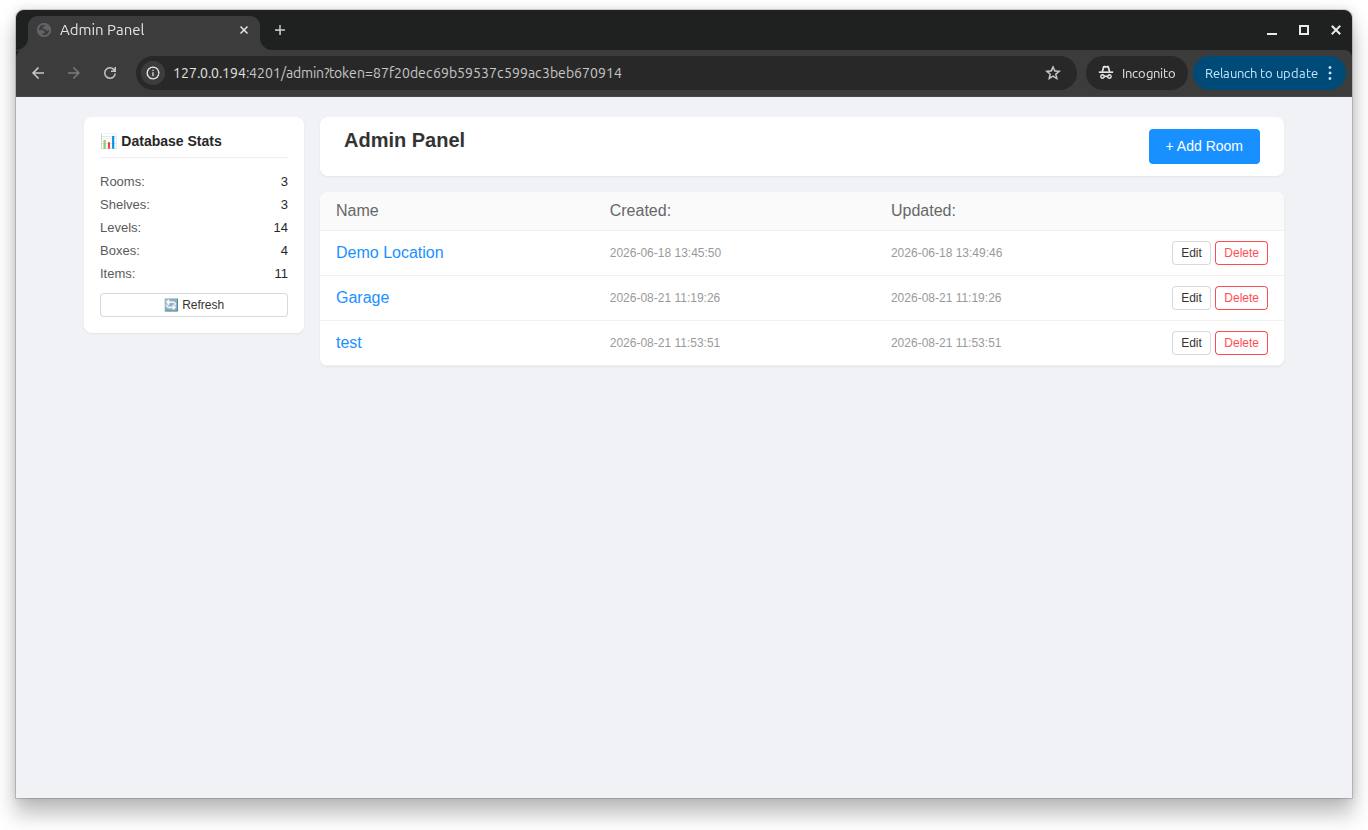
All administration pages display a warehouse summary containing: - Number of rooms - Number of racks - Number of shelves - Number of boxes - Number of items
The Refresh button updates these summary details.
On the home page of the Admin Panel, new locations (rooms) can be created or permanently deleted.
Clicking on a room name navigates to the page displaying all racks within the selected room.
Clicking the Edit button allows modification of the location name.
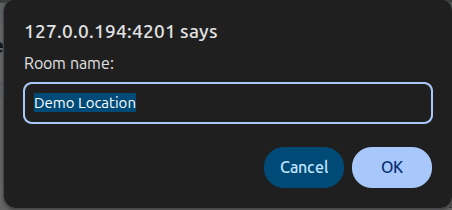
Clicking the + Add Room button opens a dialog prompt to enter the name of the new location.
Clicking the Delete button removes the location after confirming the action in a confirmation dialog.
Rack Management
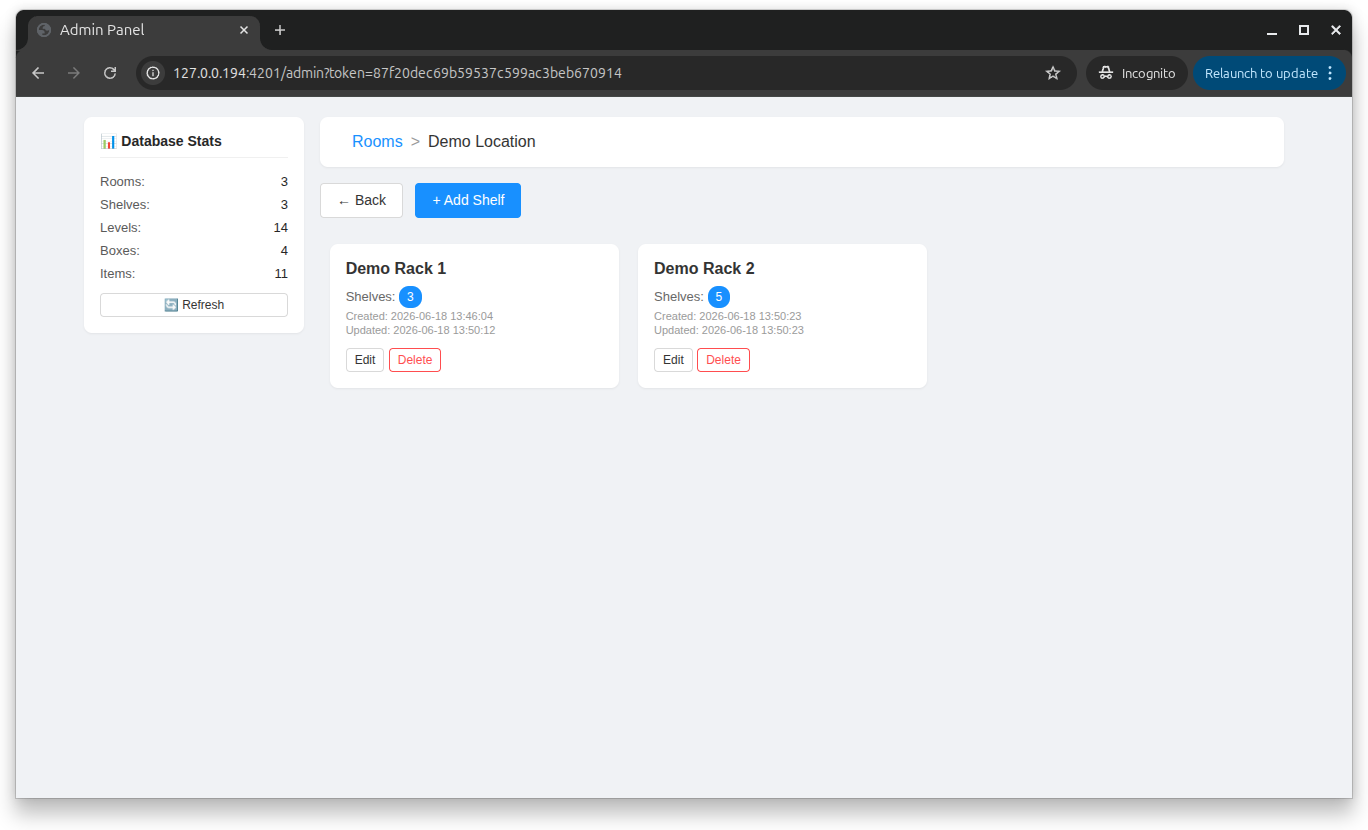
All racks within the selected location are displayed as individual cards on this page. Supported operations include: adding a new rack, editing an existing rack, removing a rack, or clicking on a card to display its shelves.
Adding a new rack and editing an existing one utilize the same dialog interface, where the rack name must be specified.
Rack removal is performed via a standard confirmation dialog.
Clicking on a rack card opens the rack details view, showing the shelf configurations.
Shelf Management
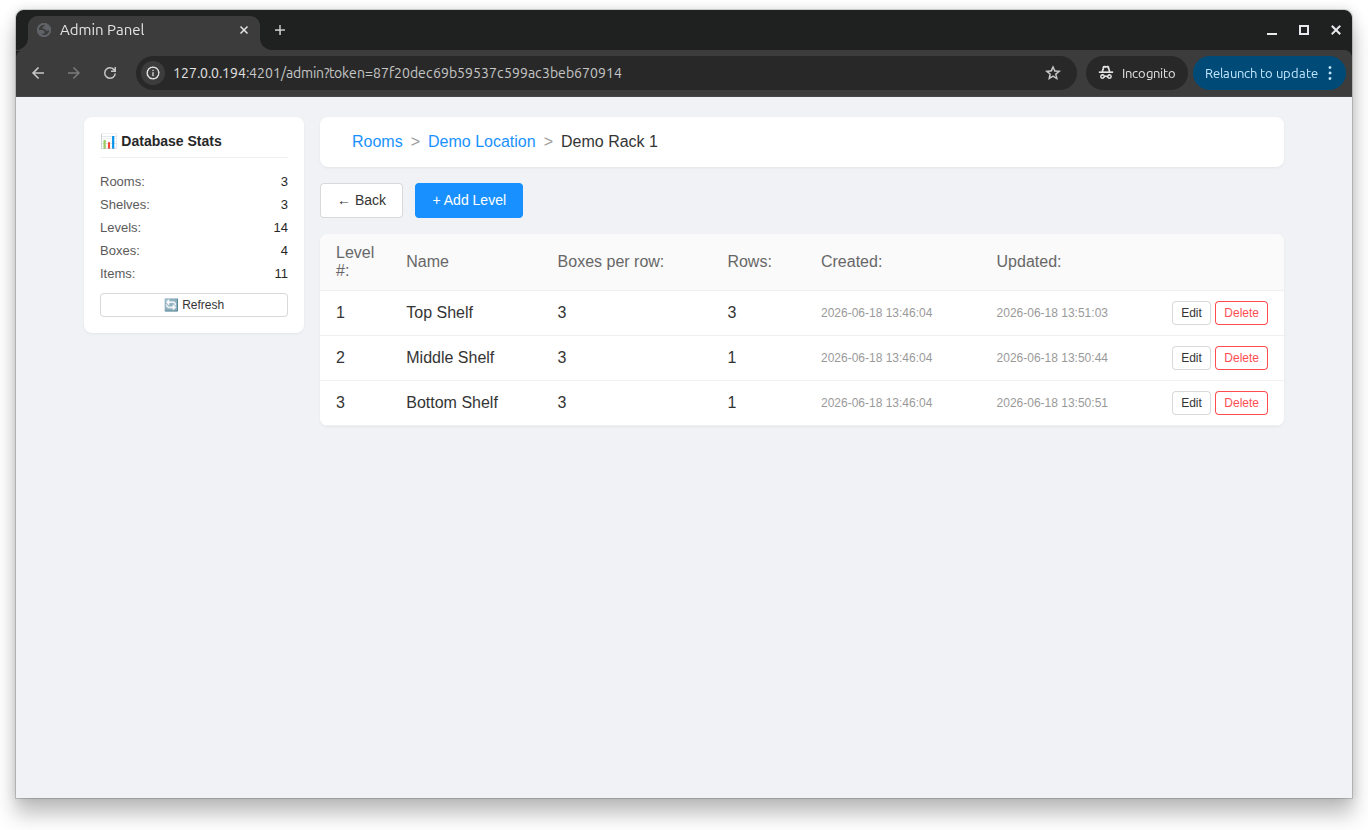
Similar to the previous views, this page supports identical management actions for shelves.
The + Add Level button initiates a step-by-step dialog configuration wizard where the following data must be specified:
1. Shelf Number
2. Shelf Name
3. Number of boxes per row
4. Number of rows
Completing these steps creates a new shelf with the defined parameters. The exact same step-by-step form applies to editing a shelf.
The Remove button deletes the selected shelf following verification in a confirmation dialog.
Clicking on a shelf name navigates to the next view, which displays all boxes assigned to that shelf.
Box Management
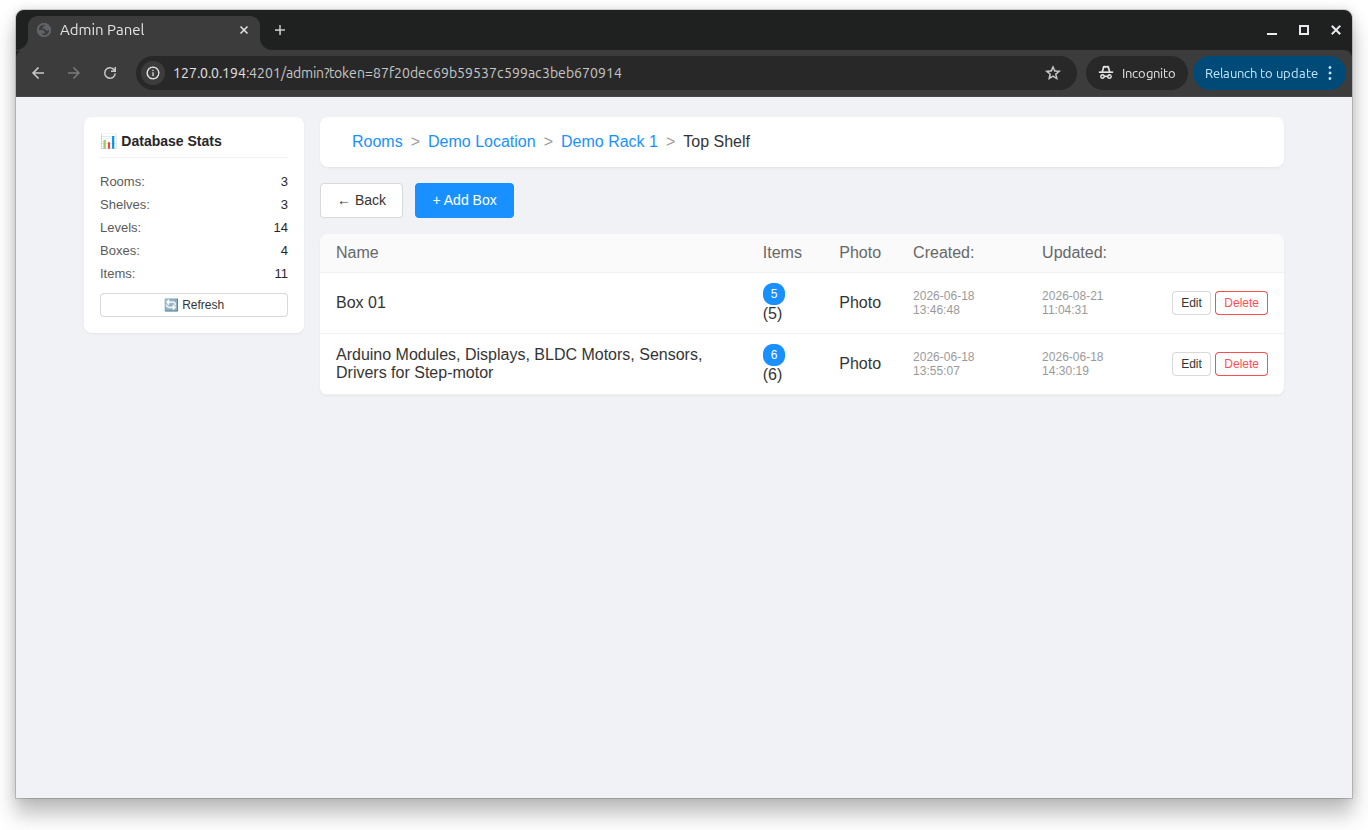
This page provides full box management capabilities, mirroring the operational logic of the previous levels.
The + Add Box and Edit buttons open a dialog form where the box name must be provided.
The Remove button deletes the box through a confirmation dialog.
Clicking on a box name opens the next interface view, displaying all individual items contained inside the selected box.
Item Management
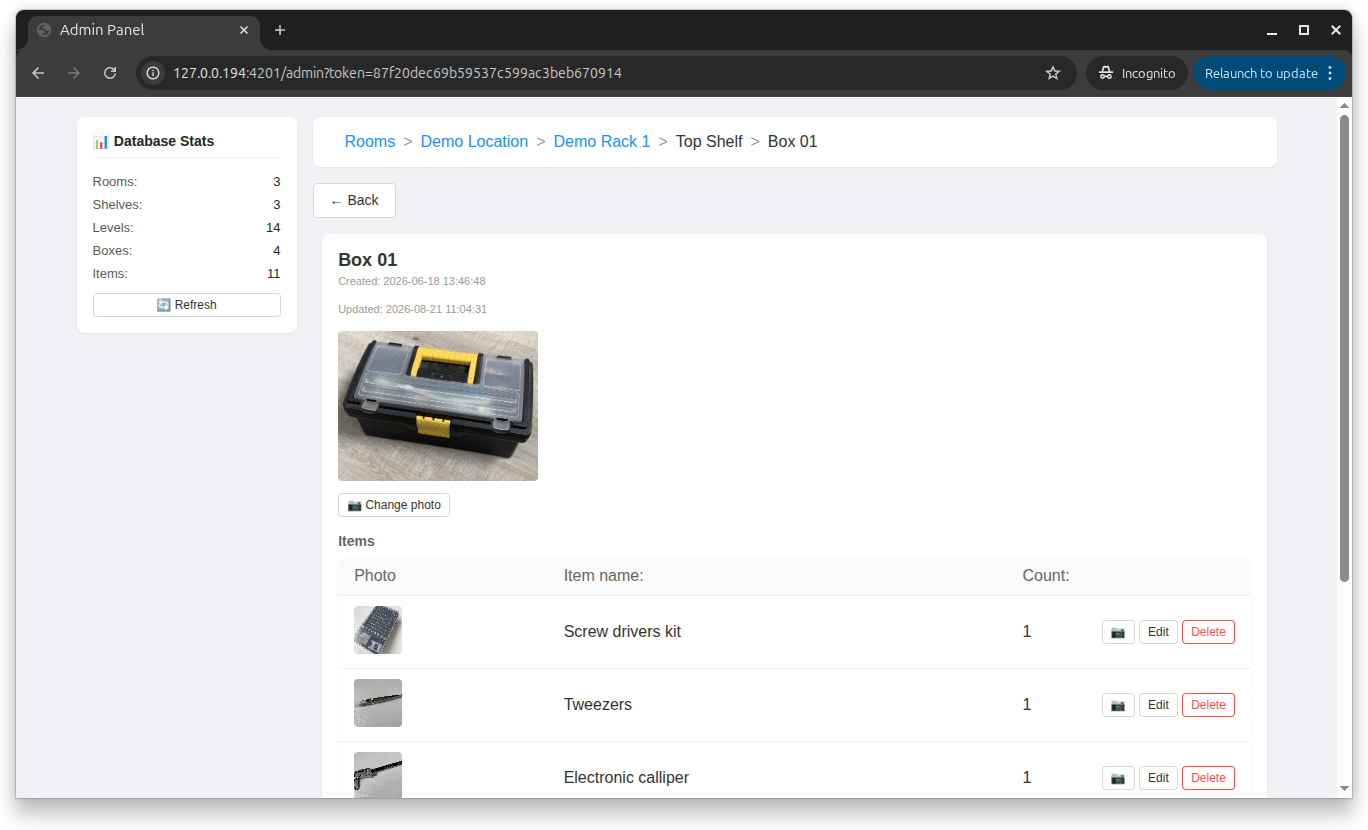
This interface partition supports the following operations:
- Current Box Operations
- Update box photograph
- Rename box
- Remove box
- Item Operations
- Add a new item
- Edit an existing item
- Specify a new item name
- Modify item quantity
- Update item photograph
- Remove item